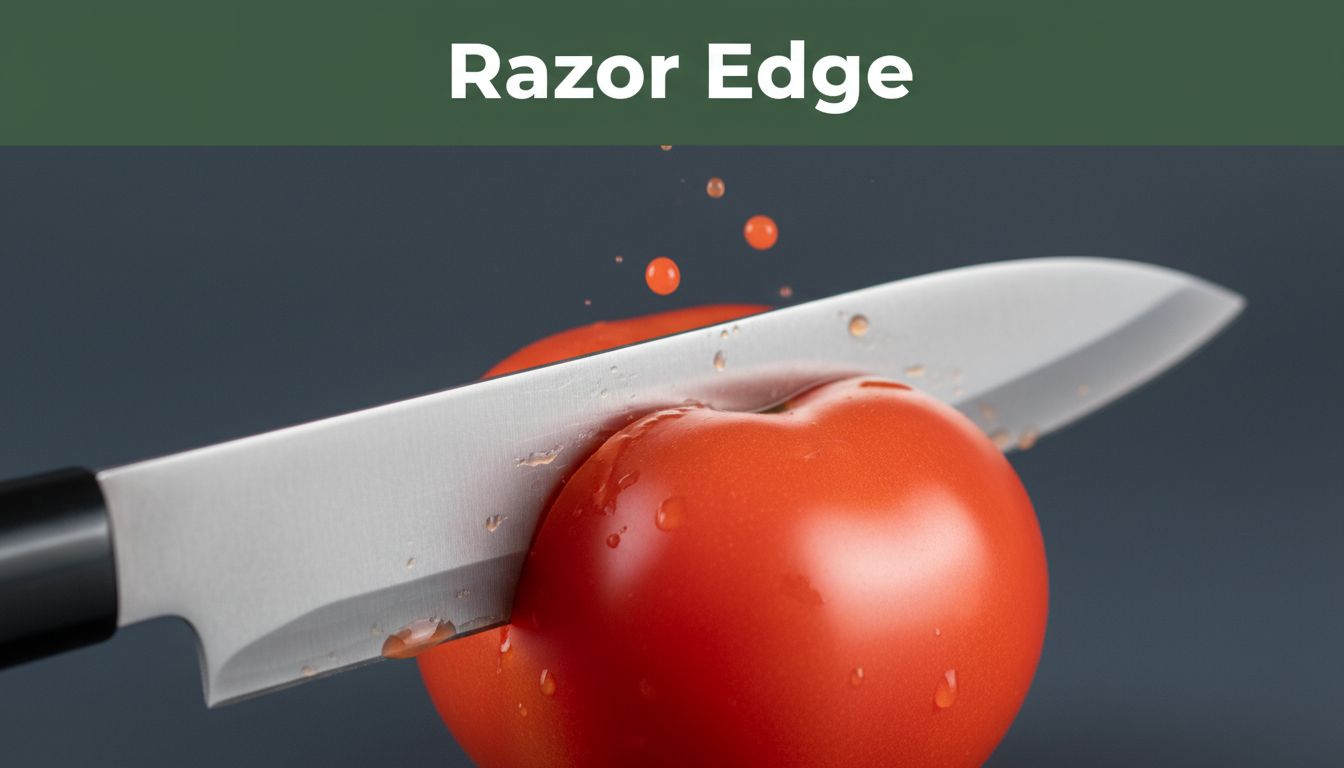
You grab your kitchen knife to slice a tomato. The blade bounces off the skin. Juice squirts everywhere, and chunks fly. Frustration hits hard because a dull edge turns simple tasks into a mess.
Now picture this. The same knife glides through that tomato like butter. No effort, clean slices every time. That’s a razor edge—a super-sharp bevel that shaves arm hair cleanly. It makes cuts safer, speeds up prep work, and extends your blade’s life. In this guide, you’ll learn stone types, setup, steps, tests, and tips. We focus on easy water or oil stones for knives or pocket blades. You can master it in one session.
Why Chasing a Razor Edge Changes How You Cut Forever
A razor edge stands out from just sharp. It features a thin, polished bevel that bites deep without drag. You control slices better, so injuries drop. Time saves on chopping veggies or trimming wood. Tools feel brand new again.
For example, a dull knife tears paper. A sharp one cuts it. But a razor edge slices newsprint like silk. This works on chef knives, axes, or straight razors. Edge geometry plays a role. A finer angle holds keenness longer because metal meets material at a precise point.
Most importantly, motivation builds here. You want effortless cuts that boost confidence. Let’s spot what sets edges apart.
Spotting the Difference: Dull, Sharp, or Razor-Ready
Look close at your blade. A dull edge appears chunky. It bites food instead of slicing. A regular sharp edge pushes through paper with some resistance. A razor edge whispers clean through tissue.
Feel matters too. Dull drags on your skin. Sharp nicks lightly. Razor pops hairs on contact.
Here’s a quick visual breakdown:
- Dull: Rounded bevel, reflects light broadly, sticks in tomatoes.
- Sharp: Defined edge, cuts paper straight, some drag on hair.
- Razor: Mirror polish, shaves effortlessly, no resistance.
These signs guide you. Next, see real perks in action.
Real-Life Wins from a Super-Sharp Blade
Effortless veggie chops save you 10 minutes daily. One cook sliced onions without tears because the edge parted layers smoothly.
Safer woodworking follows. A sharp axe bites clean, reducing slips that cause accidents.
Smoother shaves come quick. Your straight razor glides over skin, no tugging.
Confidence grows for newbies. Maintaining a razor edge with sharpening stone feels rewarding. You tackle projects faster. In short, sharp blades transform routines.
Find Your Ideal Sharpening Stone Without the Guesswork
Start with basics for beginners. Water stones soak and clean easy. Oil stones stay stable with less splash. Diamond stones cut fast and last.
Grit levels matter. Coarse at 400 grit fixes nicks. Medium around 1000 shapes the bevel. Fine 3000 to 8000 polishes to razor keen.
Pick a budget combo like 1000/6000 grit. Consider your blade steel and use frequency. Soft steel needs finer grits often. Buy at hardware stores or basic online spots. Start simple to build skills.
Water Stones vs Oil Stones: Pick Your Match
Water stones cost less and self-lube. They flatten easier but need soaking first. Oil stones hold steady, yet cleanup takes lube and solvent.
Most home users prefer water stones. Soak them 10 to 15 minutes until bubbles stop. This prevents cracking.
Grit Guide: From Rough Fix to Mirror Finish
Progress grits for best results. Coarse handles big damage. Fine refines the bevel.
| Grit Range | Use | Blade Result |
|---|---|---|
| 200-600 | Fix chips, nicks | Basic shape |
| 800-2000 | Set edge | Clean cuts |
| 4000+ | Hone, polish | Razor finish |
Multiple grits refine the bevel step by step. Skip ahead, and you miss keenness.
Set Up for Success: Tools and a Safe Spot to Sharpen
Gather essentials first. Grab your stone, angle guide or stacked coins for 15-20 degrees, towel, water bowl, drip cloth, gloves if needed.
Safety leads. Use a stable surface with good light. Keep kids and pets away. Set up on a kitchen counter or garage bench with a non-slip mat.
Prep the stone. Soak water types 10-15 minutes. Oil ones get a light coat. Add a honing steel or leather strop later. Setup takes five minutes. Nerves ease quick.
Must-Have Extras That Make Sharpening Foolproof
An angle guide or two stacked coins holds your tilt steady.
Mark the bevel with a Sharpie. Wear shows even contact.
A magnifying glass inspects the edge close. These keep you consistent from the start.
Nail the Technique: Sharpen Your Blade Step by Step
Match the factory angle at 15-20 degrees. Rest the spine on the stone, about one-quarter width down.
Push forward from heel to tip with slow, medium pressure. Pull back light or skip it. Do 10-15 passes per side. Equalize by feel; a burr forms opposite.
Progress to finer grits. Switch sides often. Finish with circles or strop on leather or pants back. Total time hits 10-20 minutes per knife.
Spine trails the stone. Listen for a whisper sound. Practice on a cheap blade first.
Lock in the Right Angle Every Time
Pinky on the table, tilt the blade up. Use a guide or finger rest.
Most blades take 15 degrees. Too steep chips metal. Too shallow folds over.
Test with marker. Even wear means you nailed it.
Stroke Secrets: Pressure, Speed, and Direction
Push away medium firm. Pull light and relaxed.
Cover full length even. Count strokes. Feel the burr like a wire edge.
Deburr on fine stone with light strokes.
Flip, Repeat, and Polish for That Final Sheen
Alternate sides until no burr remains.
Do 20 circular strokes each side on fine grit.
Strop 20-30 pulls per side on smooth leather. Clean the blade after.
Prove It Works: Quick Tests for Razor Sharpness
Slice newsprint clean without tears. Arm hair pops off. Tomato skin parts on touch. Shave hanging paper smooth.
Fails? Add passes on fine grit. Hone daily with steel. Sharpen weekly. Store dry, skip dishwasher.
Use cutting boards, not counters. Store blades safe.
Everyday Tests You Can Do Right Now
Hold paper taut. Slice down. Clean edge means pass; tears signal more work.
Whittle arm hair. Pops clean? Razor ready. Drags? Back to stone.
Long-Term Edge Care to Skip Frequent Sharpening
Hone at the same angle daily.
Cut on boards only. Clean and dry after use.
Resharpen at first drag or poor tests.
Skip These Traps: Beginner Mistakes and Quick Fixes
Wrong angle digs uneven bevels. Fix with a guide.
Too much pressure rounds the edge. Lighten up.
Uneven strokes skip spots. Count equal passes.
Skipping grits leaves scratches. Progress always.
Ignore burrs, and keenness fades. Flip more.
Don’t flatten stones. Use sandpaper or nagura.
Everyone slips first. Practice fixes it fast.
You now pick stones, sharpen with confidence, and test perfection. Grab an old knife today. Practice brings effortless cuts.
Share your first razor edge story in comments. Try weekly honing. From dull struggles to sharp mastery, you got this.