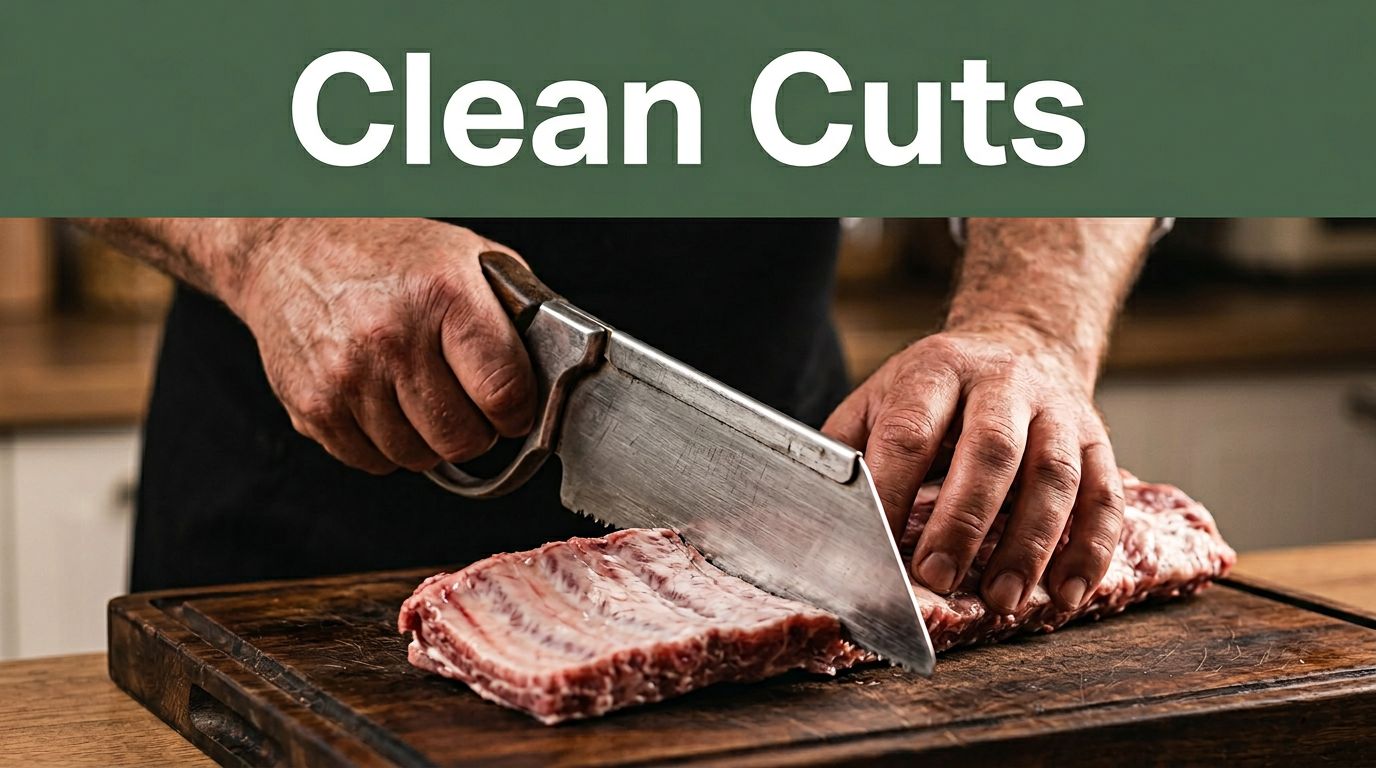
Picture this: You’re a hunter fresh from the field, or maybe a home butcher prepping ribs for the grill. One jagged cut from a dull saw ruins the whole rack. Meat tears, bone splinters fly, and your perfect meal turns messy. Clean cuts matter because they keep meat tender, reduce waste, and give that pro finish everyone admires.
You want straight lines through tough ribs and dense shanks without frustration. Bone saw skills save time and preserve quality. This guide walks you through picking the right tool, prepping meat, and mastering strokes for ribs and shanks. Follow these steps, and you’ll slice like a seasoned butcher. Ready to upgrade your cuts?
Pick the Right Bone Saw for Effortless Cuts Through Bone
Start with the tool that fits your needs. Hand-held meat saws work great for home use. They offer control without cords. Powered reciprocating saws speed things up for pros. Butcher bandsaws handle volume, but they’re pricey for casual jobs.
Wrong saw leads to splintering. A blade too coarse grabs bone chunks. Fine teeth glide smooth instead. Look for 10-14 teeth per inch (TPI) on blades. Ergonomic handles reduce hand strain during long sessions. Rust-resistant steel lasts seasons.
For home cooks, grab a compact hand saw. Pros might pick cordless power models. These traits ensure clean ribs and shanks cuts every time.
| Saw Type | Pros | Cons | Best For |
|---|---|---|---|
| Hand-held Meat Saw | Affordable, portable, precise control | Slower on thick bone | Home butchers, hunters |
| Reciprocating Saw | Fast, powerful for shanks | Heavier, needs battery | Frequent use, pros |
| Butcher Bandsaw | High volume, effortless | Expensive, stationary | Commercial kitchens |
This table shows quick matches. Pick based on your setup. As a result, you’ll avoid common pitfalls like binding blades.
Blade Types That Slice Ribs and Shanks Like Butter
Blades make or break your cut. Skip-tooth blades clear debris fast. They suit dense shanks. Full-tooth blades excel on thinner ribs for smoother edges.
Aim for 12 TPI on ribs. It bites without tearing. Shanks need 10 TPI because bone thickens there. Dull blades splinter meat. Sharpen every few uses or swap them out.
Tension matters on power saws. Too loose, and teeth wander. Tighten just enough for a firm strum like a guitar string. In addition, wet blades cut cooler and cleaner.
Size and Power: Matching Your Saw to the Job
Scale your saw to the bone. Smaller frames, around 12 inches, shine for rib precision. They let you follow curves without overshoot.
Shanks demand heftier saws, 18 inches or more. Power helps here. Battery models shine for field work because you move freely. Corded ones deliver steady juice in shops.
Match power to task. Light ribs need finesse over force. Dense shanks require torque. Therefore, test on scrap bone first.
Prep Your Meat and Workspace to Avoid Messy Cuts
Good prep sets up success. Chill meat to 32-40°F first. Firm flesh guides the saw straight. Warm meat slips and splinters.
Secure your spot. Use a stable table with clamps. Position ribs flat side down. Lock shanks in a vise. A drop of water lubricates without gumming the blade.
Wear cut-resistant gloves, goggles, and an apron. They block chips and slips. Clean surfaces prevent cross-contamination too.
Here’s a quick setup checklist:
- Meat chilled 2-4 hours post-slaughter.
- Workspace wiped down.
- Saw blade inspected and tensioned.
- Safety gear on.
Follow this, and cuts stay true. Mess drops away.
Chilling and Securing: The Secret to Straight Cuts
Chill right after harvest. Wait 2 hours minimum for field kills. Fridge temps firm everything up.
For ribs, lay them flat or use a rack. This keeps bones aligned. Shanks go in padded vises. Grip near the cut line.
Angle perpendicular always. Sight down the blade for straight entry. Secure holds stop wobbles. As a result, your line stays perfect.
Cut Ribs Cleanly: Technique That Minimizes Splinters
Ribs curve, so adapt. Hold saw at 90 degrees to bone. Use steady, even pressure. Short strokes, 2-3 inches, prevent binding.
Start between bones. Saw follows natural gaps. Imagine a chalk line guide. Twist-free motion keeps edges crisp.
Rushing causes jerks. Slow wins here. Pause often to shake dust. Differentiate ribs from shanks: ribs need delicacy, not power.
Practice builds speed. You’ll see pro results fast.
Stroke Rhythm for Rib Bones Without Jerking
Push forward gently, then pull back smooth. Repeat in rhythm. Speed stays medium, about one stroke per second.
Control prevents jerks. Let teeth do work. Too fast heats blade and bone. Clear sawdust every 10 strokes.
Wet the cut if dry. This cools and lubes. In short, rhythm turns tricky ribs easy.
Handling Tough Spots in Rib Cartilage
Cartilage resists. Alternate light pressure. Saw eases through softer meat first.
At joins, rock the blade side to side. Never force. Patience avoids cracks. Meanwhile, steady hands shine.
Tackle Shanks with Power: Smooth Cuts on Thick Bone
Shanks pack density. Ramp up power. Go slower than ribs. Start at the joint for leverage.
Use wider stance for stability. Grip firm but relaxed. Spray coolant on powered blades. It cuts heat and friction.
Forcing cracks bone. Let saw pull itself. Differences from ribs: more torque, less finesse.
Coolant keeps blades sharp longer. Your shanks emerge flawless.
Starting the Cut Right at the Shank Joint
Score a pilot notch first. Half-inch deep guides the blade. Align straight down the shank.
Enter slow. Build speed as you go. This notch prevents wandering. Besides, it saves effort.
Safety Essentials and Saw Care for Years of Use
Kickback surprises newbies. Stand firm, feet apart. No loose sleeves snag blades.
Chips fly, so goggles stay on. Gloves protect without bulk. Stable footing avoids slips.
Clean saws last. Hot soapy water rinses residue. Dry fully to fight rust. Oil moving parts weekly.
Sharpen blades at 20 uses. Store hung up, blade covered. Replace if teeth chip bad.
Follow this, and your gear serves years.
Perfect cuts start with the right bone saw and solid prep. Chill meat, secure tight, and use short strokes on ribs. Power through shanks steady. Safety keeps you in the game.
Practice on cheap cuts first. You’ll nail it soon. Share your tips in comments. What’s your go-to saw? Better slices mean tastier meals every time.